The smallest home I've lived in was about 17 square metres — roughly 180 square feet. That's the kind of self-contained studio that's completely ordinary for one person in most city rental markets, so one person living in 17 m² isn't some extreme case. It's a normal floor plan, and it can be a complete home.
This one was carved out of a thirty-something-year-old block: bathroom on the right as you come in, an aluminium window straight ahead, milk-tea-beige vinyl flooring, a single strip light. The landlord's furniture was a slightly-larger-than-single bed and a plastic wardrobe whose doors no longer quite shut.
I lived there two and a half years, spent somewhere around a month's rent over that whole time turning it into a place I wanted to come home to, and got the full deposit back on the way out. This note lays the whole thing out in order — what I got right, what I got wrong, and where every dollar went.
The short version
- Draw a scale floor plan before you buy anything. Moving furniture on paper takes ten minutes; moving it for real takes an afternoon.
- Run 17 m² as four zones: sleep, sit, eat, store. Mark the borders with a rug, a curtain, a shelf — not a wall.
- Furniture-size discipline: leave a 60 cm main walkway, keep the bed no wider than 140, swap the sofa for an armchair.
- Store upward, not outward: under the bed, behind doors, on a tension pole. Keep the floor for living.
- The whole two-and-a-half years came to about a month's rent, and roughly two-thirds of it moved out with me.
Measure first: a scale floor plan
The first weekend, I didn't go to IKEA. I took a tape measure round the whole room first: the length of every wall, the height of the windowsill, the swing radius of the door, the gap from the bottom of the aircon to the floor, the bathroom door to the wall opposite. All of it went in a notebook, and then I drew a 1:50 plan on graph paper (one square per 50 cm) and cut the furniture I wanted into little paper rectangles at the same scale.
This old-fashioned method saved me at least three times. The 120 cm desk I'd been eyeing — one paper rectangle showed it would block the bathroom door from opening. The double bed I'd assumed would "just about squeeze in" left the wardrobe doors opening only thirty degrees. Moving furniture on paper takes ten minutes; moving it for real takes an afternoon, and risks a dented corner.
Three measurements are the easiest to forget: socket positions (they decide which end the desk and the bed head go), the inward sweep of the windows when they open (it decides whether a shelf can live by the window), and the "behind the door" space — usually the last blank wall left in the whole room.
Zoning: sleep, sit, eat, store
The biggest psychological trap of a studio is that the whole room is just one bed. The bed is the sofa, the bed is the dining table, the bed is the office — and three months of that and a person starts to come apart. My fix is to force the space into four jobs: sleeping, sitting, eating, storing, each with its own patch of ground, the borders made visually, not with walls.
Marking the "sit" zone with a rug
A 1.3×1.9 m short-pile rug at the foot of the bed, an armchair and a small side table on it — that patch is now the "living room". The change in texture under your feet tricks your brain into thinking you've changed rooms. Cheap but effective, and that rug has since followed me through two more moves.
Hiding the "store" zone behind a curtain
The landlord's not-quite-closing wardrobe, plus my own open clothes rail, all pushed into the recess to the left of the door, with a 2.5 m tension rod across the front holding a panel of off-white fabric. Curtain drawn, the room visually loses about 40% of its clutter. Of the "fabric first" idea from the first lesson, this is probably the single highest-return spend.
The "eat" zone can be tiny, but it has to exist
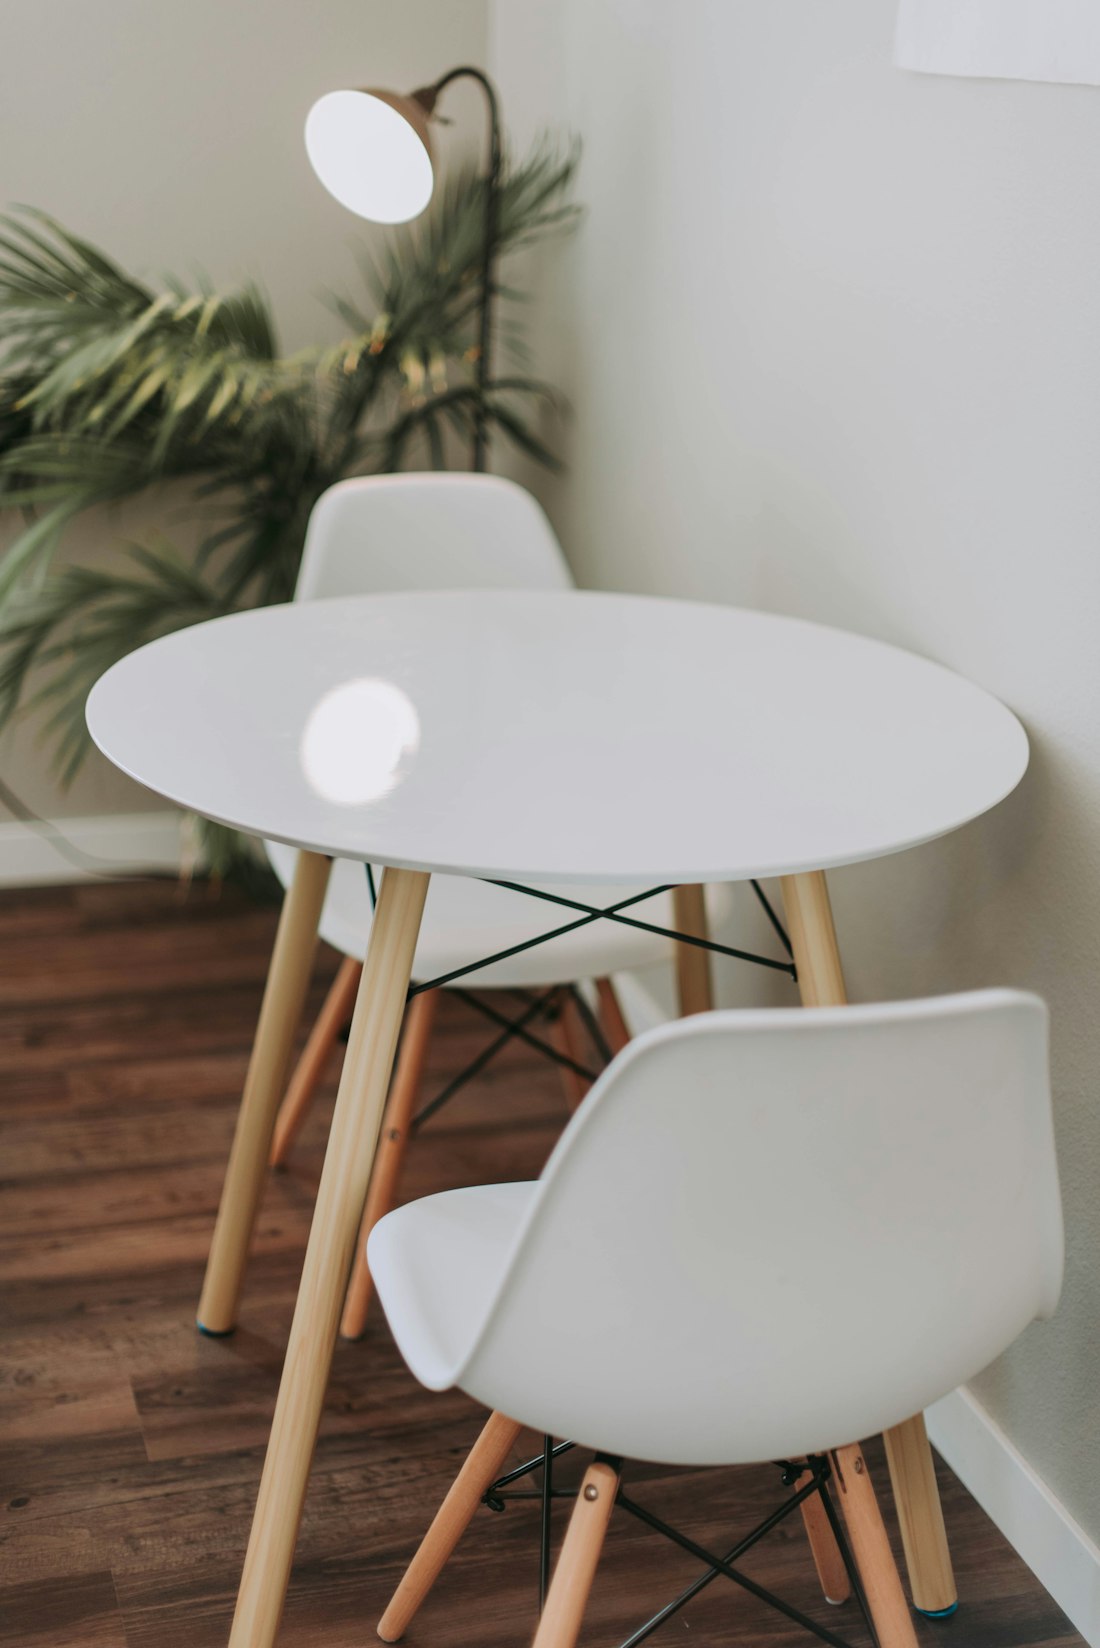
I used a 60 cm round table with two stacking chairs, by the window. One person eating really only needs 60 cm; the point is holding the line of not eating on the bed — the smell of the room and your state of mind both change for it. When friends came, the table moved over to the rug area and became a coffee table.
Furniture-size discipline
In a small space one wrong piece loses the whole board, so I set myself a few hard rules on size:
- A 60 cm main walkway. Along the main path from door to window, no piece of furniture may intrude on that 60 cm band. It's the minimum width to turn sideways through without holding your breath.
- Bed no wider than 140. A full double (around 150×190) is a tyrant in 17 m²; it forces out the desk or the wardrobe. A 135–140 small double is the sweet spot between sleep quality and floor space, better still with a lift-up base or under-bed drawers.
- Sofa out, armchair in. A two-seater takes nearly half a square metre and two people to move; one good armchair with a footstool gets you eighty per cent of the flop, and one person carries it out.
- Tall pieces on one wall. Wardrobe, shelves, everything tall lined up on one side, the other side kept low — otherwise the room turns into a canyon.
- Choose furniture on thin legs. Pieces you can see the floor under (slim-legged chairs, a floating-look side table) make a space feel twice as light as solid boxy furniture.
A 30×120 full-length mirror, stuck to the side of the wardrobe with picture strips (or leant against the wall), positioned to face the window. What it reflects isn't you — it's the light from outside, and the room gains a good chunk of "visual floor space" for about $10. Hanging and load details are in the no-drill note.
Store upward: use the vertical space fully
Floor in 17 m² is a luxury, so storage can only grow toward the ceiling:
- Under the bed. Bed risers (mind the stability — all four corners the same), or a base with built-in drawers. Off-season clothes and suitcases all go under. The suitcase is itself a storage box — my big case lives with the winter duvet inside it year-round.
- Behind doors. An over-the-door towel rail on the bathroom door, an over-the-door hook panel on the bedroom door. No drilling, no adhesive, lifts off at the next move.
- A tension pole. The pole by the window carried two shelves for books and plants, clamped between ceiling and floor, with not a single hole in the wall.
- Clothes, doubled vertically. A fabric hanging organiser slung below the clothes rail fits twice the clothes in the same vertical slice.
I changed the lighting and the floor in this room too — strip light swapped for a warm ceiling light plus a floor lamp, the vinyl covered over the key zone with interlocking mats — but those have their own notes, in rental lighting and flooring you can fully undo, so I won't repeat them here.
The real spend, two and a half years
Going back through the records, the big lines came out like this. These were the actual prices I paid over a couple of years, so treat them as a rough scale rather than a current quote — 2026 prices run a touch higher, and currencies vary, so convert for your market.
| Item | Spend (approx.) | Did it move with me? |
|---|---|---|
| Warm ceiling light + floor lamp + bulbs | ~$115 | Yes (bar the ceiling light — original refitted on move-out) |
| Blackout curtain + two tension rods + fabric panel | ~$85 | Yes |
| Rug + interlocking mats | ~$110 | Rug yes; mats too worn, binned |
| Armchair + footstool + side table | ~$240 | Yes |
| Round table + two stacking chairs | ~$100 | Yes |
| Tension pole + shelves | ~$90 | Yes |
| Clothes rail + hanging organiser + under-bed storage | ~$80 | Yes |
| Mirror, hooks, filler pen and sundries | ~$65 | Partly |
| Bedding upgrade (set + pillows) | ~$105 | Yes |
| Total | ~$990 | About two-thirds of the value moved with me |
Spread over two and a half years that's well under what most streaming stacks cost a month, and most of it is still in service. Which is the thing I keep saying: money spent on a rental makeover is really money spent on every future place you'll live.
The first month: a buying timeline
Looking back at the records, more useful than "what I bought" is "when I bought it". If I had to do this 17 m² again, the timeline would be:
- Day 1 (before moving in): buy three things only — bedding, a blackout curtain, warm bulbs. Sleeping well the first night is the morale base for the whole project.
- Week 1: buy nothing. Live in the empty room, arrange furniture on paper with the scale plan, and watch: what time the sun comes in and from where, which wall is dampest, whether there are enough sockets. Resisting the itch this week heads off eighty per cent of the bad buys later.
- Week 2: anchor furniture goes in — once the bed's position is set, the table, the clothes zone and the sitting zone all fall into place around it. The "zoning tools" (tension rods, fabric panel, rug) land at the same time.
- Weeks 3–4: the storage system (under-bed, behind doors, tension pole) grows out of how you actually live — by now you know where the keys land and where the clothes pile up, so you fit storage to the habits, not the other way round.
- From month two: only now do the "want" things come, not the "need" things — art, scent, a second lamp. By this point you understand the room well enough that everything you buy stays.
The one-line version: sleep well the first night, hold off buying the first week, let it grow with life over the first month. Get the order right and not a dollar goes to waste in 17 m².
An honest review, a year on
I've covered what went right; here's what went wrong:
- I bought a too-deep shelving unit. 40 cm deep, and in 17 m² it sat like a wall; three months later I swapped it for a 25 cm slim one. In a small space, depth is more lethal than width.
- I bought cheap floor mats. The surface frayed within six months, and the dark colour showed every speck of dust. I learned — see the buying section of the flooring note.
- I zoned "eating" too late. I ate on the bed for the first six months, and only mended my ways after the duvet met a curry. Doing it again, the round table would be in the first wave of furniture.
- I hoarded "might-need-it-later" storage boxes. Storage kit is clutter too. Throw things out first, then zone, then buy boxes last; reverse that order and you're paying money for mess.
One last line for anyone living in 17 m² right now: a small space isn't a flaw, it's focus. You've only four things to arrange well — sleep, sit, eat, store — and give each one a little dignity and 17 m² is a complete home.
Common questions
Will a standard double bed fit in a 17 m² studio?
It fits, but it eats all your flexibility. A 150-wide double in, and the desk and wardrobe become almost an either/or. A 135–140 small double with under-bed storage is the setup I've regretted least.
Does a small studio really need a sofa?
Under 17 m², no. An armchair + footstool + side table gets you eighty per cent of a sofa's comfort, half the footprint and a fifth of the moving hassle. If you really want a "two of us curled up" spot, a wide-armed oversized single chair is as far as I'd push it.
How big is 17 m², and is that small?
About 180 sq ft, and it's an entirely normal one-person studio in plenty of city rental markets — not an extreme case, just an everyday floor plan with room for a full home if the four zones are planned.
On a tight budget, what three things come first?
Warm bulbs and a floor lamp, one rug to mark out a sitting area, and a tension rod with a fabric panel to hide the clothes. Not much money, and the room gets its order and mood first; the rest can come slowly.