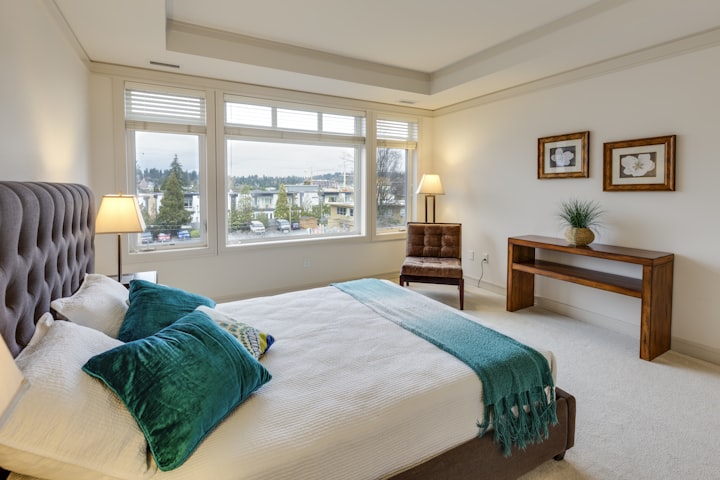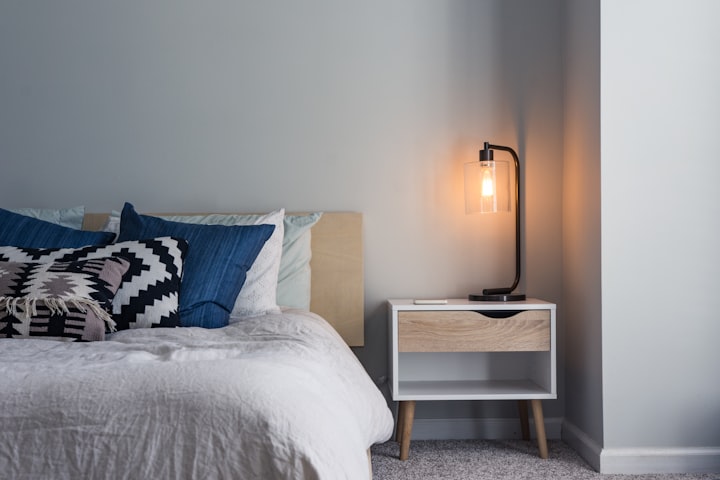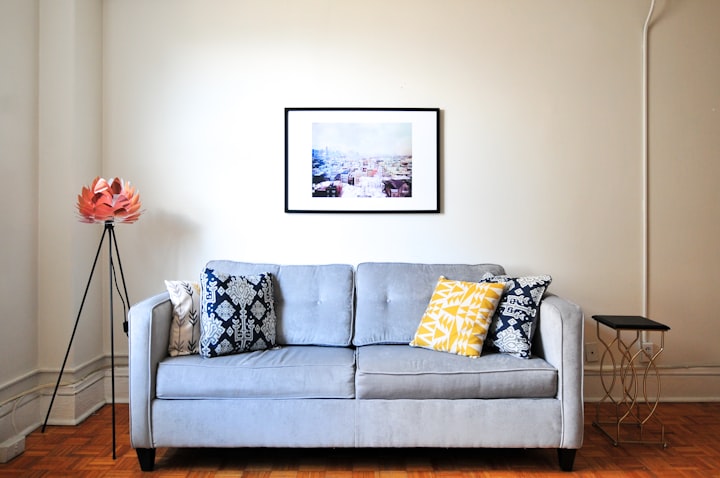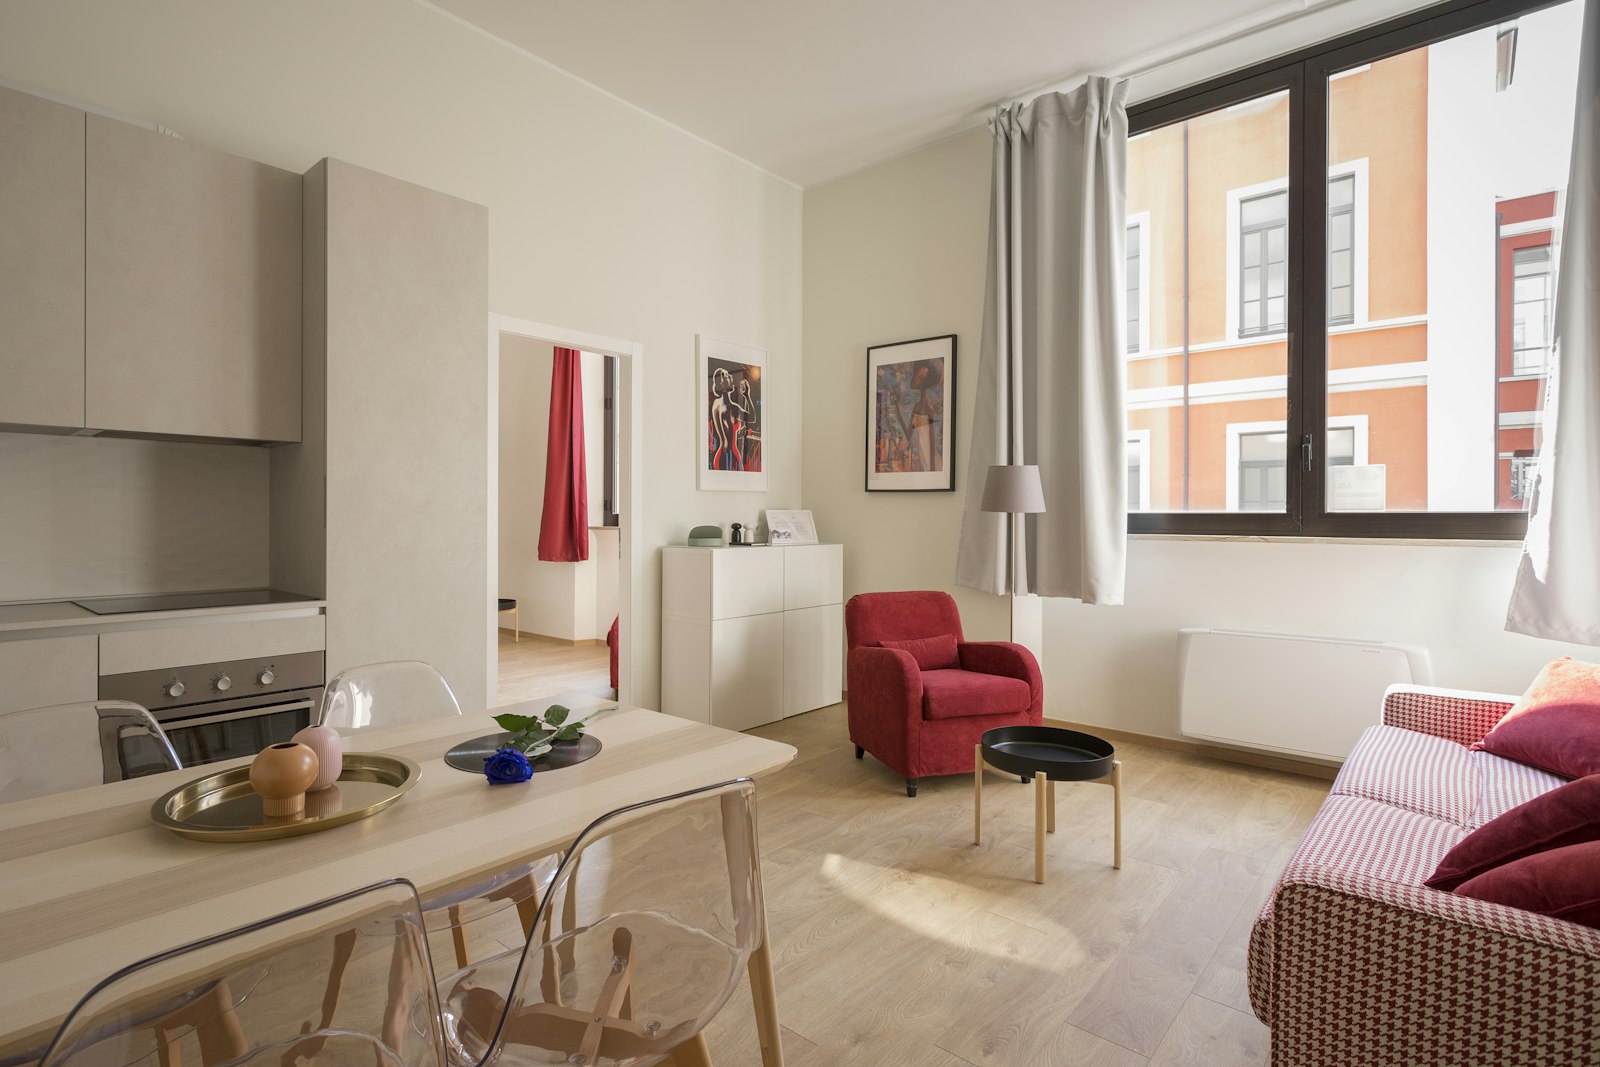
On the day of my eighth move I stood in the middle of an empty room waiting for the landlord to do the final inspection. He walked the room, ran a hand over the wall, looked up at the ceiling, and said, "You really lived here three years?" Then he transferred the full deposit straight back.
That was the moment it clicked that the "don't-drill" approach I'd been fumbling toward over the years might actually be worth writing down. Same flat — a thirty-year-old place that came with a strip light and a beige vinyl floor — and a month before I left, a friend asked whether I'd quietly hired a designer. Nothing in between had involved a single nail.
This is the first note on Rented Nook, and it's also the map for the whole site. I'll lay out everything I've picked up in the order "why → prep → sequence → budget → mistakes", then send you off to the detailed notes. If you've just signed a lease and you're sitting in an empty or frankly ugly room scrolling on your phone, this one's for you.
The short version
- The iron rule of renting is "reversible": everything you do has to come back out before the final inspection, or the deposit doesn't come back.
- Before you start, do three things: photograph the place the day you move in, read the condition clauses in your agreement, and say hello to the landlord once.
- Work in this order — lighting → soft furnishings → walls → floors → furniture. The first two cost the least and change the most.
- Budget rule of thumb: a few hundred does a solid first pass; anything past that should go to pieces that move with you.
- What loses people their deposit isn't the decorating — it's adhesive residue, swapping a light fitting and losing the original, and overloading hooks until they tear the paint.
Why "reversible" is the iron rule
Before the decorating, a word about money — because a renter's makeover budget is, in a real sense, already sitting in the landlord's account. It's called the deposit.
In most places the deposit (or "bond", if you're in Australia or New Zealand, where it's usually lodged with a state authority) is somewhere around four to six weeks' rent — and exact caps and rules vary by country and state, so check your local tenancy authority. Either way, that's roughly a full makeover budget. Which means decorating your way out of the deposit is the whole game lost, with money on top. This isn't scaremongering: deposit disputes sit near the top of every tenancy-complaint list, year after year, and most of them aren't deliberate damage. They're "I thought this was fine" — wallpaper that lifted a patch of paint on the way off, double-sided tape that bled into the wall over a hot summer, a light fitting swapped out and the original binned.
So every fix on this site carries two stamps:
"Reversibility" is how much work it takes to put back before you leave. "Deposit risk" is whether getting it wrong costs you money. The full definitions live on the risk-stamps page, and every note uses the same two stamps — treat them as the site's hard hat.
The three things to do before you start
1. The day you move in, photograph before you unpack
This is the single most important paragraph here. Before a box comes through the door, walk the place with your phone and photograph every wall, the inside of every cupboard, the ceiling and the floor — especially anything already damaged: nail holes from the last tenant, yellowed paint, water marks inside the kitchen units. Don't just leave the shots on your phone; back them up, then send the key ones to the landlord: "Hi, moved in today — here are a few photos of the condition for the record, including a couple of marks that were already here."
Five minutes, and it's worth a month's rent. Every "did you do this?" argument at the final inspection comes back to those photos. The full how-to and the inspection process is its own note — deposit defence — with message templates ready to copy.
2. Read the condition clauses in your agreement
Most tenancy agreements ask for one thing only: "no damage to the property" or "return in the condition it was let". What you're actually looking for are extra clauses like "nothing may be affixed to the walls" or "no light fittings to be changed". If those are in there, treat the matching section of this site conservatively, or just ask. Also glance at who's responsible for repairs — in most jurisdictions the landlord covers structural and built-in repairs unless the agreement says otherwise, which matters when a tap drips or a light dies.
3. Say hello to the landlord once
It sounds old-fashioned, but a landlord who replies to your messages is a renter's biggest asset. My habit is to ask one small question in the first week ("what type of bulb does the bathroom take? I'd like to keep a spare"), which tests the response time and leaves a friendly record. After that, anything in the grey zone — large peel-and-stick areas, a swapped lampshade, decking a balcony — I run past them in writing first. Nine landlords in ten say yes to "I'll put it back when I leave", and the one who doesn't has just saved you a deposit fight.
"Hi — I'd like to swap the ceiling light in the living room for one of my own. I'll wrap the original and store it up top, and put it back before I move out, so nothing about the fitting changes. Just wanted to check you're OK with that first?"
Three parts: what you want to do, how you'll keep the original, and that you'll put it back. In writing, in the messaging app — that's your insurance.
The order: lighting, fabric, walls, floors, furniture
When the budget is tight, the order is everything. This sequence is sorted by "visible change per pound spent" — the early items are cheap, reversible and high-impact; the later ones get pricier and heavier.
Step one: lighting — a few quid changes the whole mood
The thing nearly every rental shares is a flat, cool overhead light — that 6500 K hardware-store white. Under it, even good furniture reads like an office. The first money always goes on light: swap the main bulb to a 2700–3000 K warm white (a few quid), then add a floor or table lamp as a second source. In the evening, turn off the overhead and use only the low light, and the room is a different place.
There's plenty you can do without touching the wiring — clip lamps, plug-in track alternatives, light strips, sensor night-lights. The full kit is in rental lighting without an electrician, including how to read colour temperature and bulb specs.
Step two: soft furnishings — curtains, rugs and bedding are the room's clothes
Soft furnishings are a renter's best friend because they're a hundred per cent yours to take. A tension rod and two linen-look curtains hide half the cheapness of an aluminium window; a 1.6 m rug pulls a "bed, desk and wardrobe doing their own thing" room into one piece; switching bedding to a plain or earthy palette halves the visual noise in a photo. If I only had a couple of hundred, I'd put all of it into fabric.
Step three: walls — damage-free hanging and reversible colour
The wall is the biggest blank in the room and the main battleground for deposits. The good news is that damage-free kit is mature now: adhesive hooks for art, mirrors and small shelves; pegboard stands that hold themselves up by gravity with no drilling; floor-to-ceiling tension poles that build a whole storage wall. The load figures and how to pick are in how much a Command hook can hold — I've laid 3M's own weight chart out for you.
Want to change the wall colour? Whether you can paint comes down to the landlord (most say no), but removable wallpaper, hanging fabric and big areas of art are all reversible. This year's big "colour drenching" look has a renter version too, in reversible colour.
Step four: floors — an ugly floor can be covered
Beige vinyl tiles and yellowed polished concrete are the two great rental floor specialities. You can't pull them up, but you can cover them: click-lock SPC flooring floats on top with no glue and lifts out to come to the next place; on a smaller budget, interlocking mats or a big rug over the key zone. Cost per square metre, how long it takes, and how to lift it at the end are all in flooring you can fully undo.
Step five: furniture — buy the big pieces last
Furniture comes last because it's the priciest, eats the most budget, and until the lighting and fabric are in you genuinely don't know what the room is missing. Before you buy, ask one thing: next move, will this fit in the lift and onto a van? Which pieces are worth the money and which you'll regret after one move is the honest list in furniture for renters.
How to split the budget: three tiers
The price bands below are everyday ranges from common shops (IKEA and the like, checked June 2026) — they move around, so read the scale, not the exact number. Currencies vary; convert roughly for your market.
| Budget tier | How to split it | What it gets you |
|---|---|---|
| Under ~$300 first pass |
warm bulbs + a floor lamp ~$40 / curtains + tension rod ~$45 / a rug or mat ~$60 / bedding ~$75 / damage-free hooks and a couple of prints ~$45 / sundries ~$30 | The whole mood changes; a photo won't read as a rental. Good for a one-year tenancy or a first try. |
| ~$300–900 step up |
the full first pass, plus click-lock flooring over the key zone (material ~$15–35 per m²), plus a pegboard stand or tension poles ~$90–180, plus one good chair or side table | Even the floor reads differently and storage roughly doubles. For a two-year-plus tenancy. |
| $900+ invest |
all of the above, plus the extra into "things that move with you": one genuinely good mattress, a solid table you'll keep for a decade, a designer lamp | The pieces follow you from move to move; the place feels more like home the longer you rent. Note: money past this point shouldn't go into the building itself. |
There's no line in this table for "pay a tradesperson to drill and fit shelves" or "swap the bathroom fittings". That's not an oversight. Anything that touches the structure usually saves less in space than it costs you in deposit and making good — in a rental, that's a negative return.
Tweaks by place: room, studio, whole flat
The order and budgets above are the general rule, but "what you've actually rented" shifts a few priorities. I've lived in all three and the differences are bigger than you'd think.
A room in a shared house
Your canvas is one room, with the most constraints: usually no cooking, thin partition walls, flatmates' noise through them. Spend first on three things — a blackout curtain plus a heavy door curtain (blocks light and a little sound), a lamp that's yours (you can't fix the shared lighting, so rescue your own room's mood), and storage that goes vertical (a room this size can't spare floor space; jump to the vertical-storage section in the studio diary). Making the shared spaces better is a different problem — that's the shared-flat note.
A studio with its own bathroom
The main scenario for this site — take everything as written. Two studio-only notes: first, if bills are included you can run a dehumidifier or heater without wincing, but watch the circuit load in old buildings (keep high-wattage appliances on separate sockets, see the wiring bit in the tiny-kitchen note). Second, studio bathrooms are often windowless, so damp-proofing jumps to the front of the queue — a squeegee and an extractor habit before any decorating (the full method is in the damp handbook).
A whole flat
With more space, the real risk is spreading yourself thin — change a little in every room and every room ends up half done. Split the budget by hours spent: the space you're in longest (usually the bedroom or a working corner) gets to eighty per cent first, the rest just gets tidy. The other bonus of a whole flat is bargaining power — long tenancy, big space, so you're far more likely to get a yes on painting or swapping furniture; the message templates in section two are there to use.
The five mistakes that cost most
Every one of these is a lesson I or a friend paid for, in order of how likely it is to cost you money.
- Cheap double-sided foam tape. The few-quid roll from the hardware shop bleeds into emulsion paint in summer heat, and comes off as a cloud of grey residue — or takes the paint with it. If you're sticking something, use a product labelled "damage-free / removable", and peel it the way the instructions say.
- Overestimating what the wall can hold. An adhesive hook rated 2 kg means a smooth, dry, well-painted wall. On an old skim-coat wall, a damp wall, or chalky paint, halve the rating. Hang anything valuable (mirrors, glass frames) low or stand it on the floor.
- Swapping a light fitting and losing the original. Swapping is fine, but wrap the original and store it, and put it back at the end. I've watched someone get charged for a "missing" ceiling light worth a fraction of the deduction.
- Rubber-backed mats straight onto vinyl. Some rubber and PVC flooring "react" over time and leave a yellow stain that won't wash out. Test a small patch in a corner for a week or two first, or pick fabric- or felt-backed mats.
- Starting the undo the night before. Residue takes time to soften off, filler needs to dry, furniture needs collecting. Allow at least two weeks to put a place back — there's a day-by-day plan in the 14-day move-out note.
My "moves-with-me" buying rule
One idea to finish on. The big difference between renting and owning is that a renter's "home" is really two layers: the outer one — the building — is the landlord's, and the inner one — light, fabric, furniture, scent — is yours. Decorating, at heart, is putting money into that inner layer, over and over.
So before I buy anything, it has to pass three gates:
- Can it move with me? Anything that breaks when removed, or is welded to this particular flat, drops a tier however lovely it is.
- Will the next place use it? A made-to-measure piece that fits this wall exactly usually becomes scrap at the next one.
- Could I resell it? When it's genuinely time to let go, standard IKEA and own-brand pieces move fast secondhand; obscure custom builds you can barely give away.
A few years of buying through those three gates and my moving costs keep dropping while each new place turns into "my room" faster. On the eighth move, those lamps and rugs and chairs went onto the van, into the new flat, and the place looked like home that same evening. That, more or less, is the best thing a renter's makeover can give you.
Common questions
How much should I budget to do up a rental?
Under a few hundred does a real first pass — lighting, soft furnishings, basic storage. A few hundred more adds flooring and a fuller storage wall; past that, steer the money to good furniture that moves with you. Change the lighting and fabric first — every pound there does the most.
Do I need to ask the landlord before I start?
Fully reversible touches (bulbs, mats, hooks, curtains) generally don't need asking. Anything that leaves a mark — large peel-and-stick, swapping a fitting, balcony decking — is worth a quick written message first, with a record that you'll put it back.
Can the walls really not take a nail?
Depends on the agreement. Most only ask you to "return to condition", and a small filled hole usually passes the inspection — but it's a grey area you carry yourself. Damage-free options cover about nine in ten needs, with the load chart in the no-drill note.
The place is old and ugly — is it worth spending money on?
Yes, but on things you can take. The building's hard problems (damp, old tiles) can't be touched and have a low return; use light, fabric and a visual focal point to pull the eye away, and keep the budget for pieces that follow you, so it never feels wasted however long you stay.